Are you using Zendesk Support and looking for a scheduling solution?
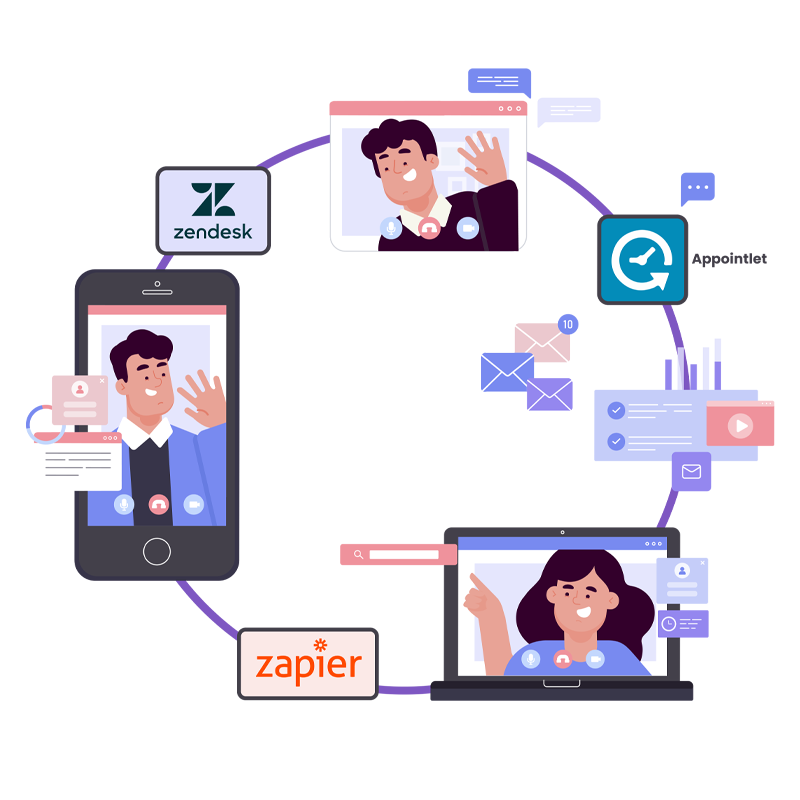
In the solution outlined here, you’ll be able to offer escalated support and keep track of the relationship between tickets and meetings. Any time you share a scheduling link, the attendee’s response will be sent back into their initial Zendesk ticket as a private comment, with the help of Zapier.
Zendesk is a multifaceted CRM (Customer Relationship Manager) used by many SaaS businesses. It offers customer support software, tools for building a knowledge base (Guide) and has an intuitive, user friendly interface.
While their Support suite offers a variety of services, one thing it lacks is a native meeting scheduler. To solve this, we suggest using Appointlet links conversationally with your end users. Zendesk’s Chat widget will serve as a first point of contact for people who didn’t find their answers in the Guide.
Appointlet makes it easy to send scheduling links and have a meeting booked in minutes. Plus with custom intake forms, you can gather extra information about the attendee, so you’re prepared when you meet.
To get started you will need to do the following:
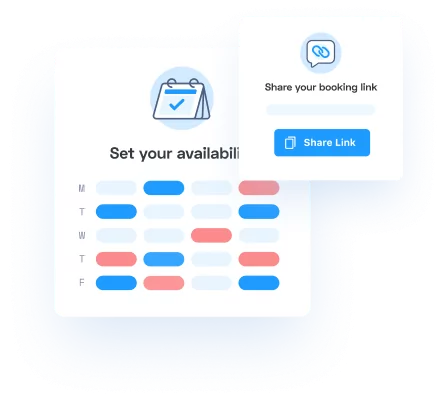
- Set up an Appointlet booking page
- Register a Zapier account
- Setup your Support dashboard in Zendesk
Enable the Zendesk Chat widget on a Guide
Once you have accounts registered with Appointlet, Zendesk, and Zapier, we’ll be ready to start setting up your scheduling solution.
In Zendesk, navigate to your Admin settings and locate the Channel labeled Web Widget (Classic). This page offers customization options, including a feature called Chat.
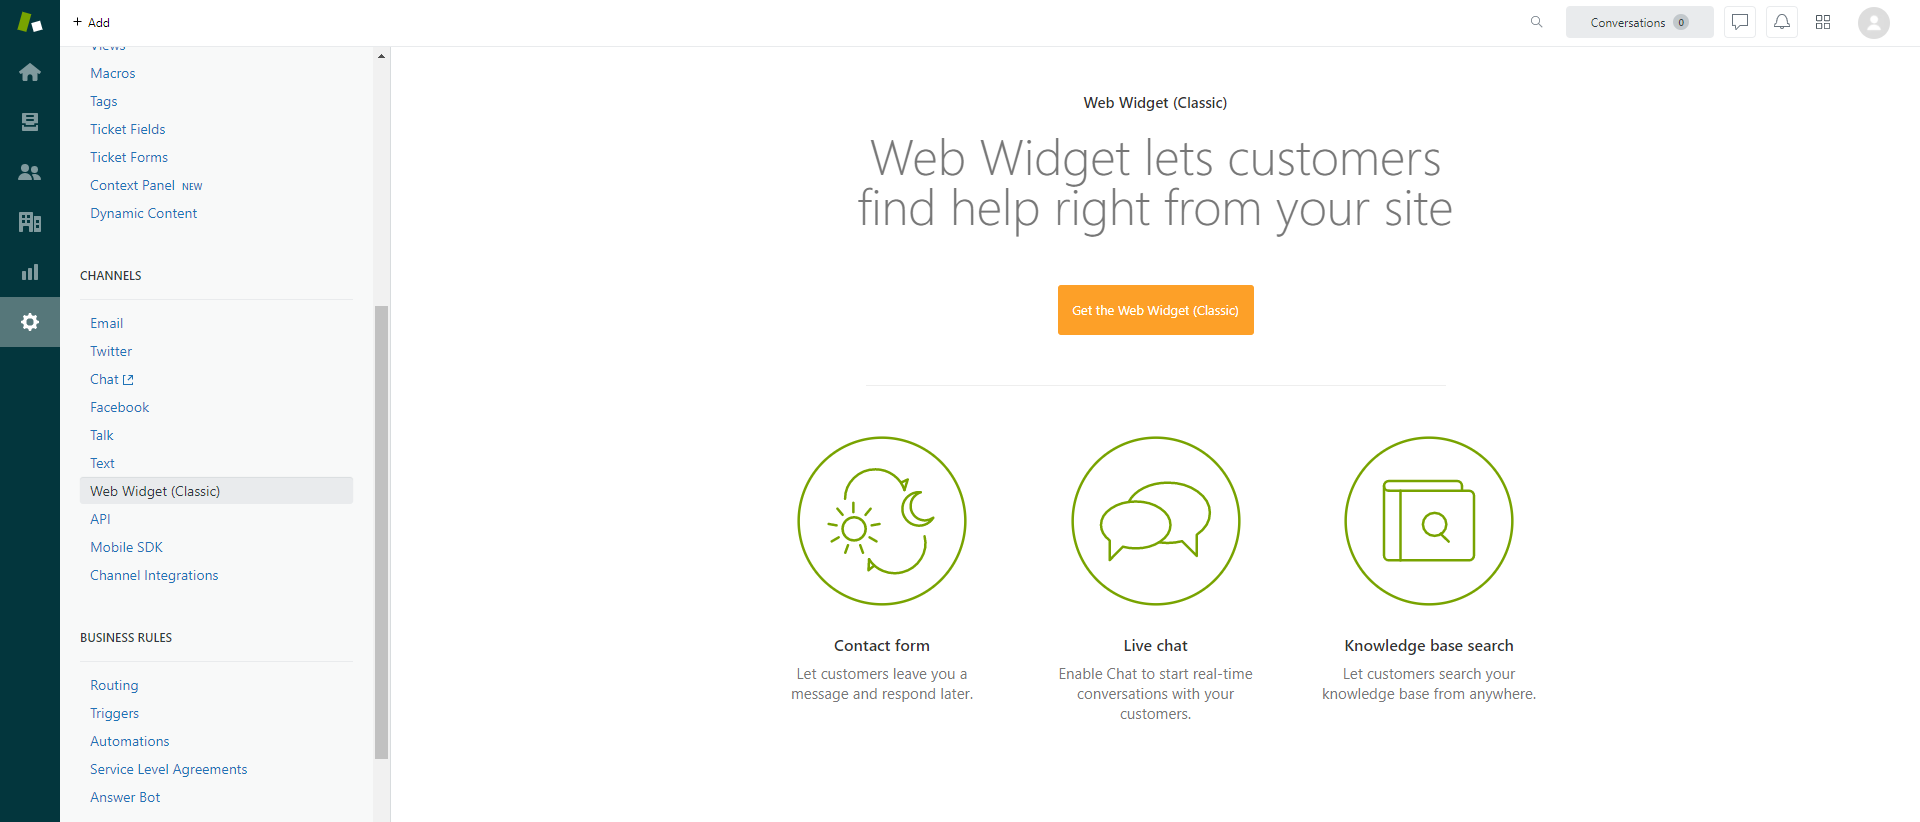

Great! Now visitors to your knowledge base articles will be able to ask questions if their particular topic isn’t addressed. Those messages will show up in Zendesk Support as new tickets.
In the image below, you can see how a Zendesk Support Chat window will be displayed for your clients. In this example, we’ve set up a knowledge base using Blogger, a free and intuitive blogging platform.
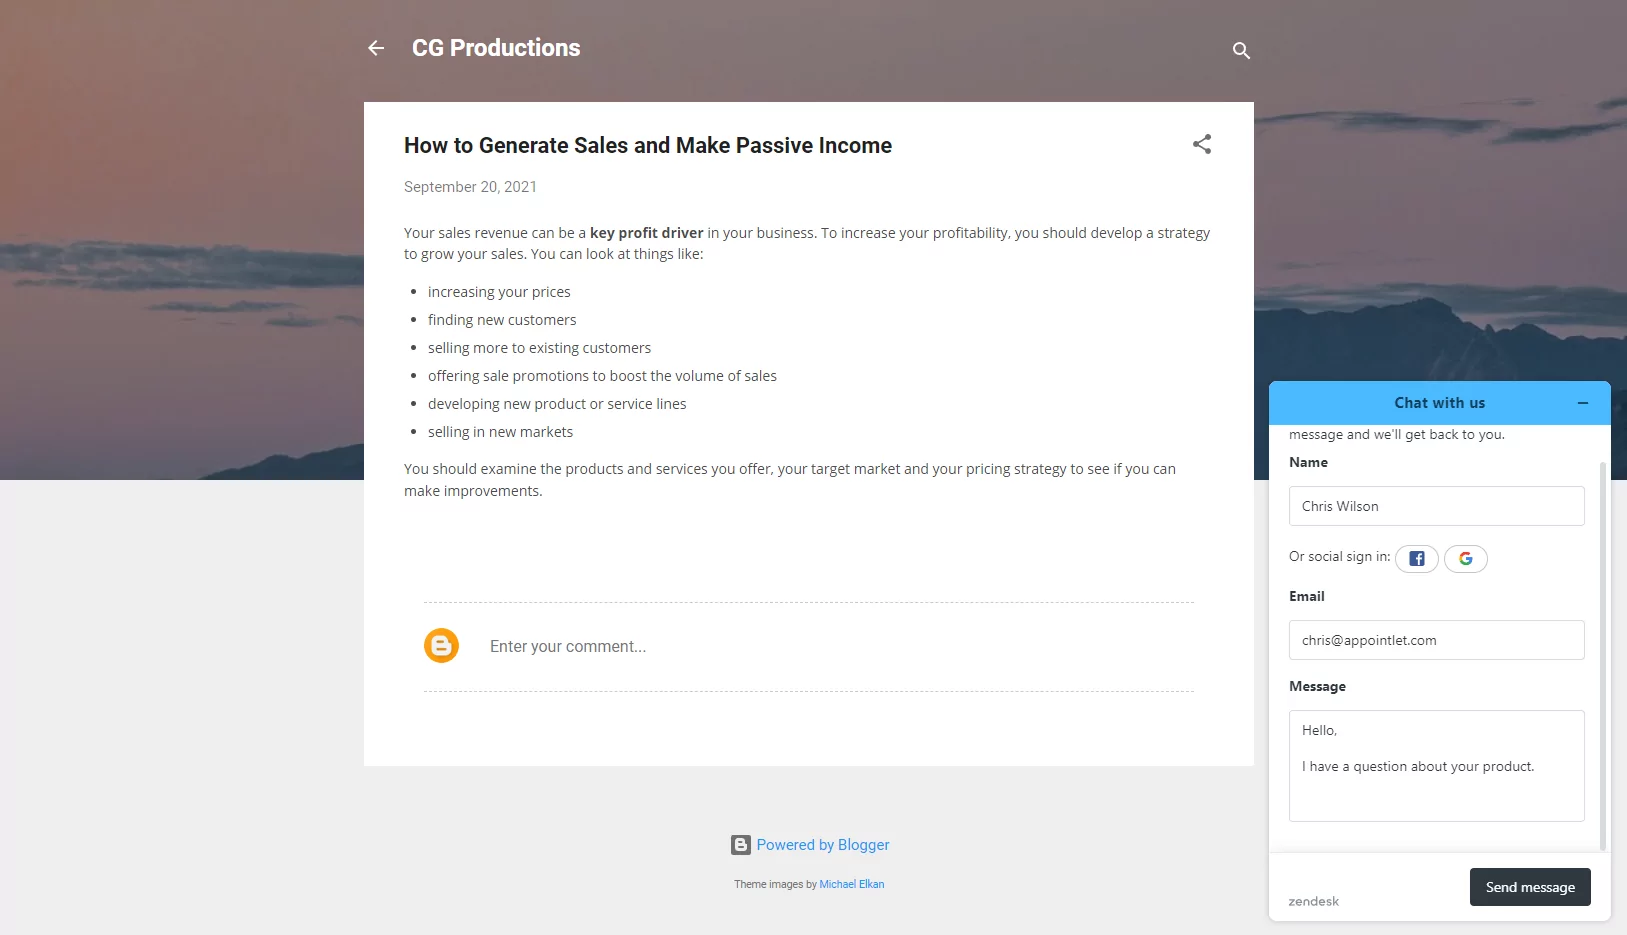

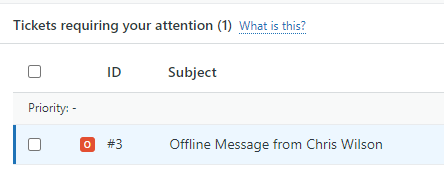
Each ticket has a unique #, as shown below. In Zendesk’s API documentation this # is called a ‘chat-id’. Take note of this ticket number, as we’ll be using it in the next step.
Create an Appointlet scheduling field for your Zendesk chat-id
Now that your Zendesk Chat widget is installed, let’s turn our attention towards the scheduling flow.
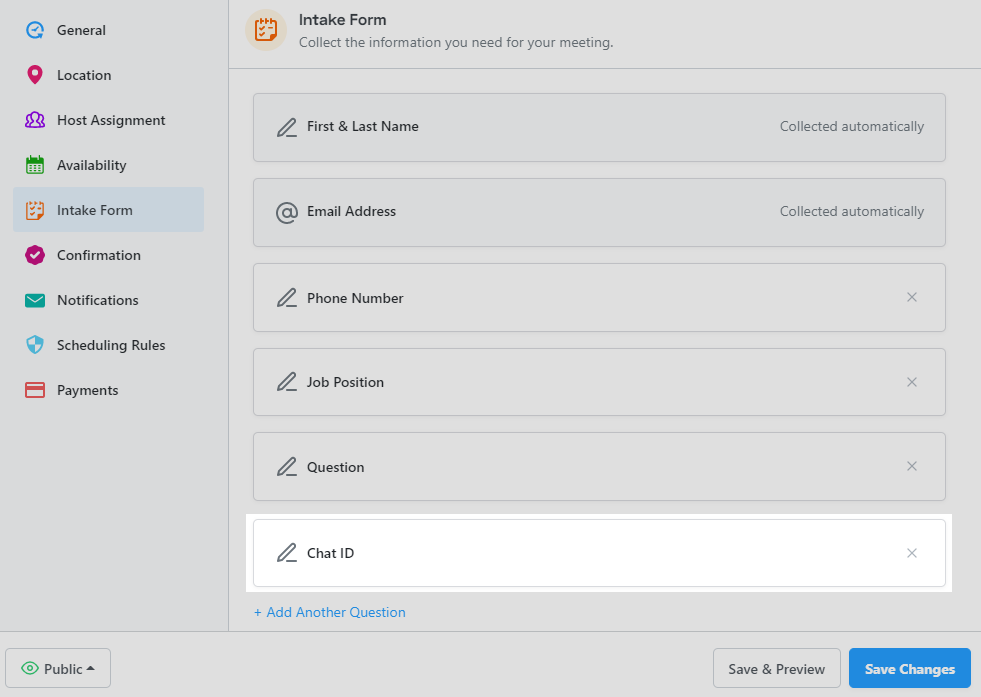
Begin by navigating to Appointlet, logging in, and accessing a Meeting Type’s Intake Form. To collect the responses we need from attendees, we’ll first create a set of form fields like name, phone number, job position, and a question prior to the meeting.
In addition to these fields, we will need to create one additional hidden field. This will be named Chat ID and we will use it to capture the incoming ID from Zendesk. Here are step by step instructions:
- Create a new Text Field called ‘Chat ID in a Meeting Type’s Intake Form tab.
2. Click “Learn how to pre-fill responses” at the bottom of the editor.
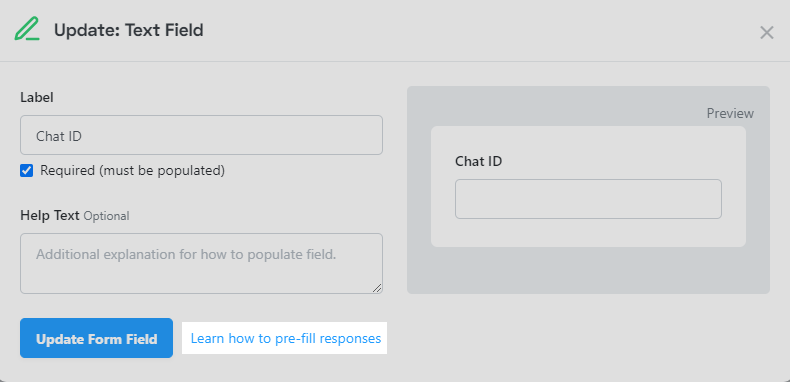
3. Check the box at the bottom to make the form field hidden.
4. Copy the Pre-Fill URL and select “Update Form Field.”

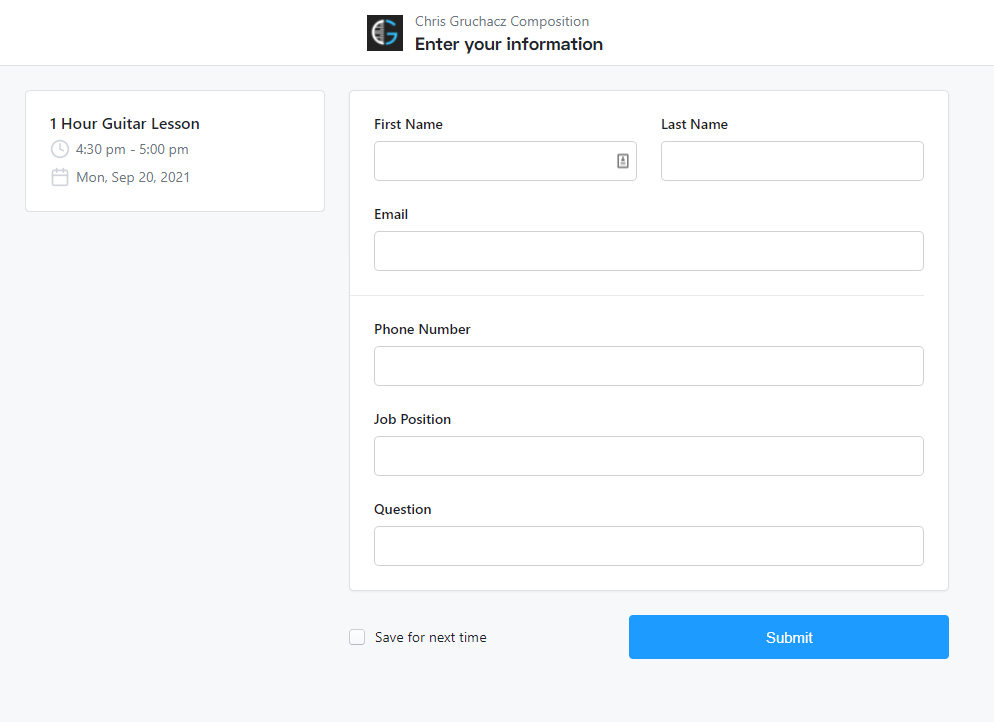
Paste this URL into a new browser tab and bookmark that page. Alternatively, you can add the URL to your computer notepad or some place that you have easy access to.
Next, we’ll test that your hidden field is working.
In this example, we’re targeting a specific Zendesk ID that corresponds to a customer ticket, so we’ll need to replace the generic “VALUE” variable with something we know refers to the piece of data we are collecting. In this example, the updated URL would read:
https://appt.link/chris-gruchacz-composition/1-hour-guitar-lesson?field__oefcs=3
We’ve replaced “VALUE” with “3” so we know that this corresponds to ticket #3 in Zendesk.
![]()
Hit enter to load the page and you’ll go through the normal scheduling flow. You’ll notice that the ‘chat id’ field is hidden.
When you complete the test booking, your chat id will be passed into Zapier. This will make it possible to track down the original ticket and add a private comment with all of the meeting details and form responses.
Connect Appointlet scheduling to Zendesk Support tickets with Zapier
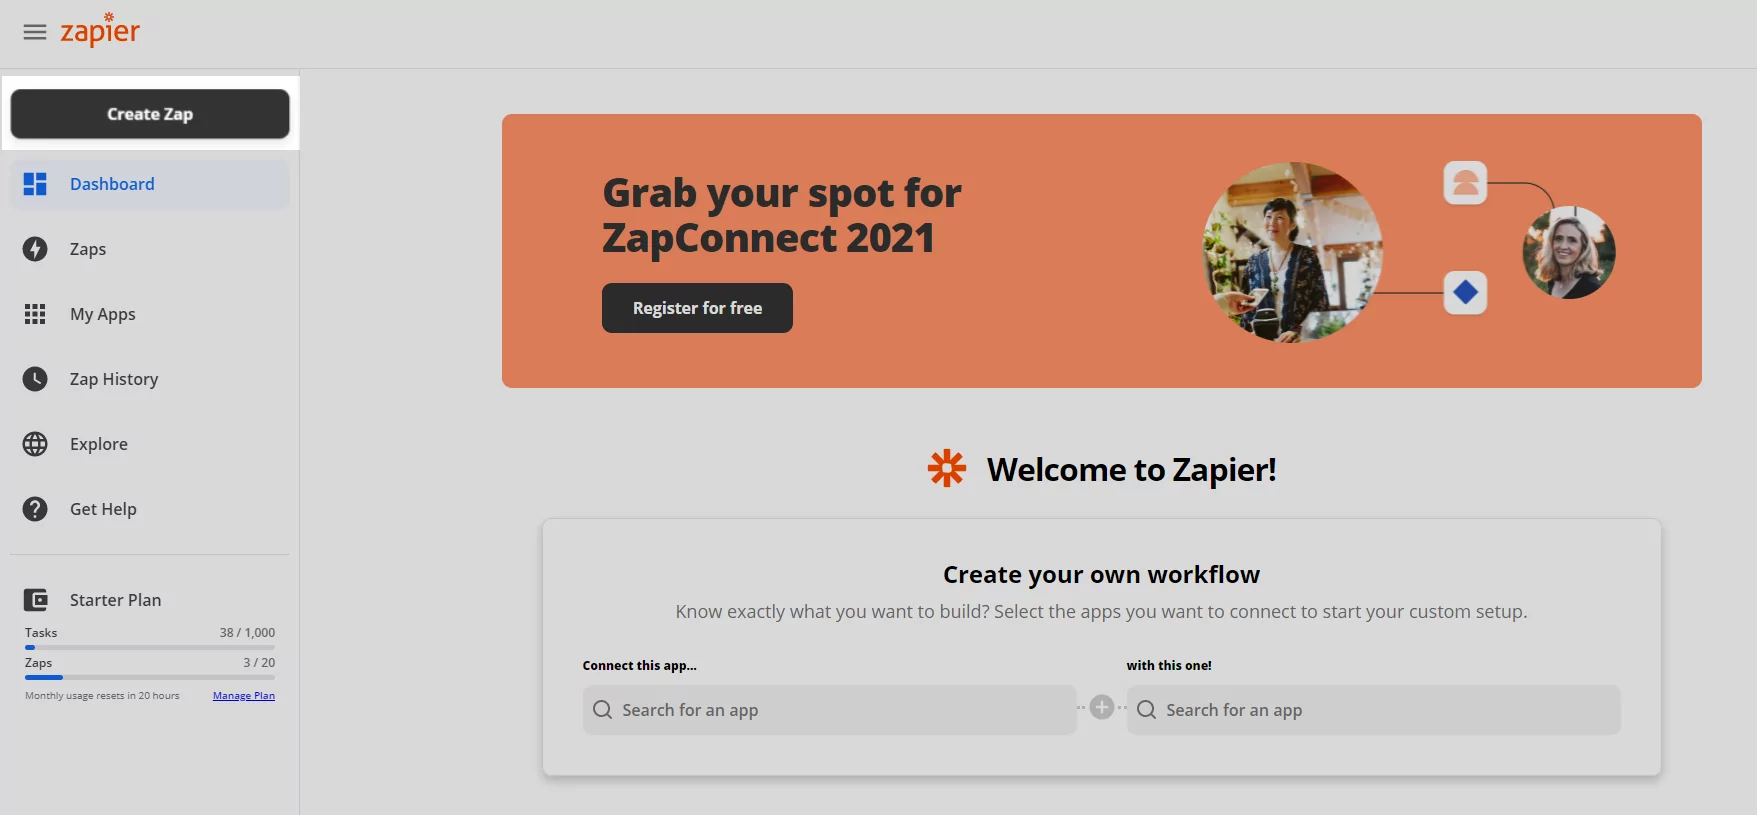
Now that Appointlet is setup, we’ll need to head over to Zapier. To get started, navigate to your Zap creation page:
Choose Appointlet as the Trigger and complete the authentication steps:
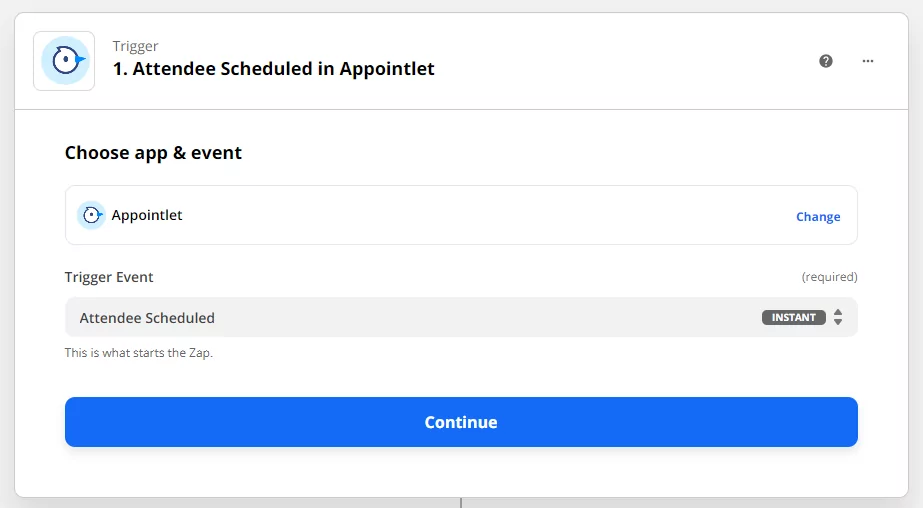
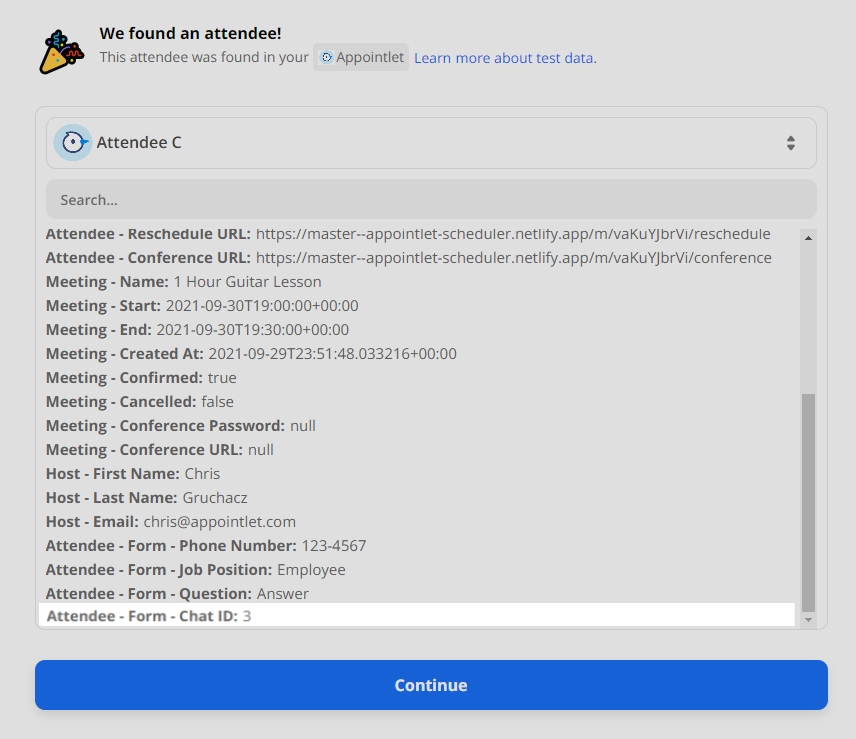
Select ‘Attendee Scheduled’ from the Trigger Event dropdown menu and pull in the most recent booking. Look for the ‘chat-id’ property to make sure that your hidden value was passed correctly:
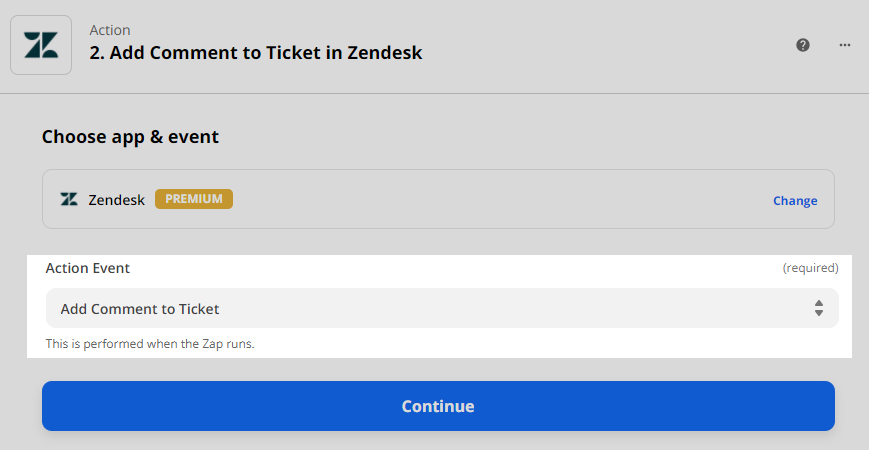
Make ‘Add Comment to Ticket in Zendesk’ your Action:
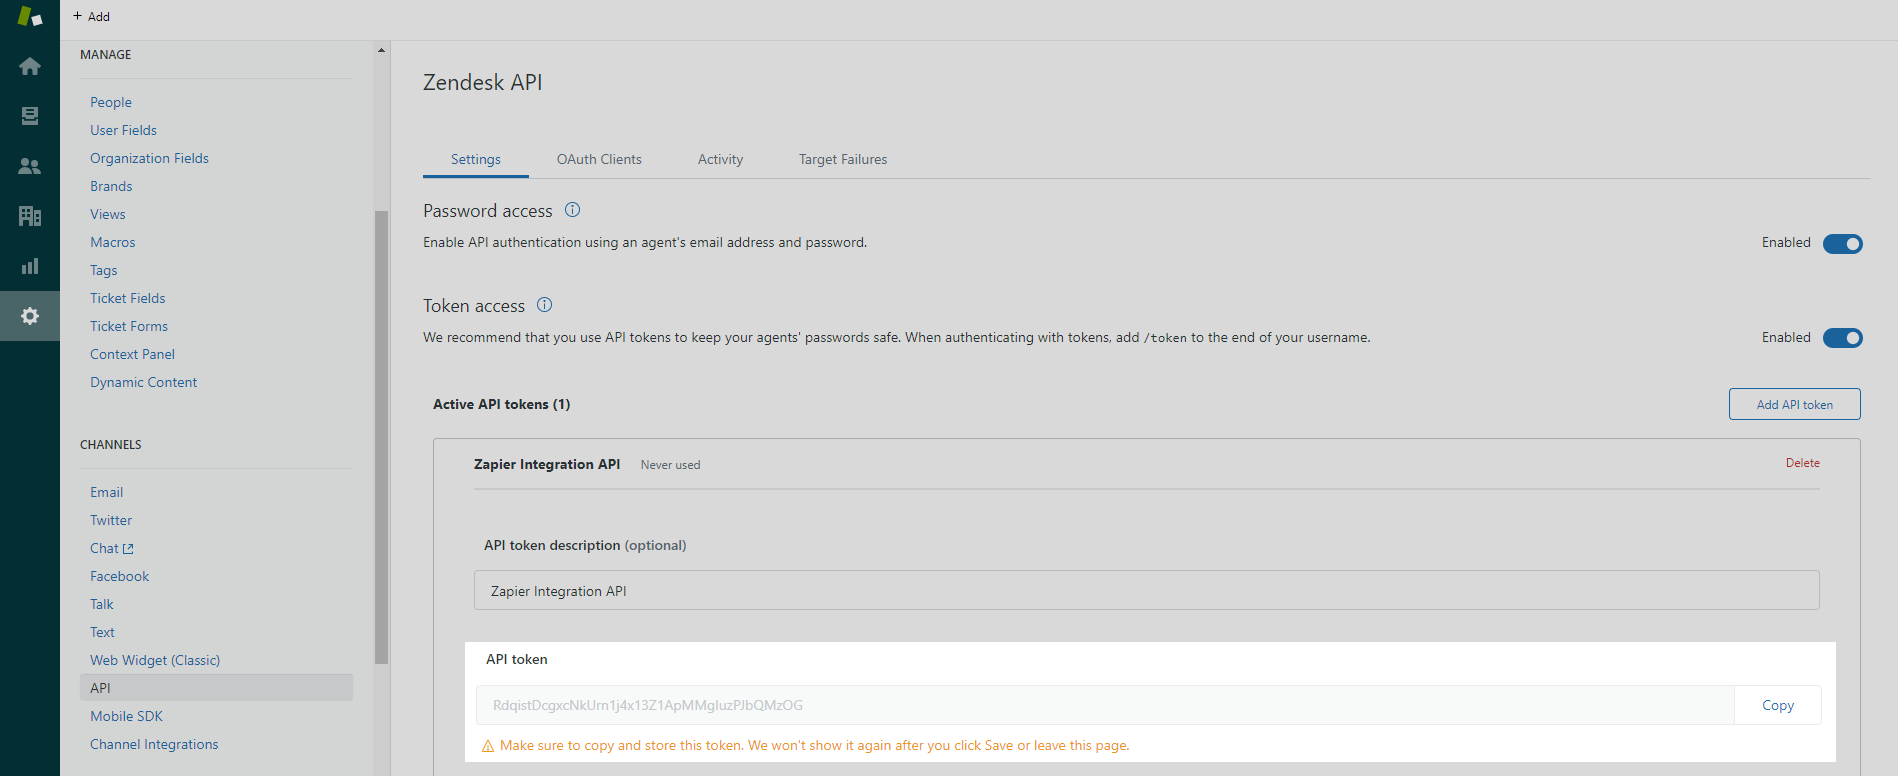
To authenticate your Zendesk account with Zapier, you’ll need your API Access Token. You can enable and then create your token in the Zendesk Admin tab here:
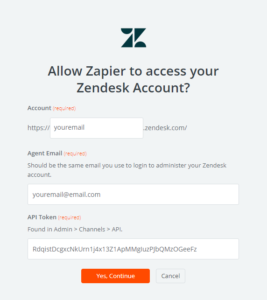
As you move forward with the Zendesk connection, you will be prompted to use your API access token to authenticate your Zendesk account with Zapier:
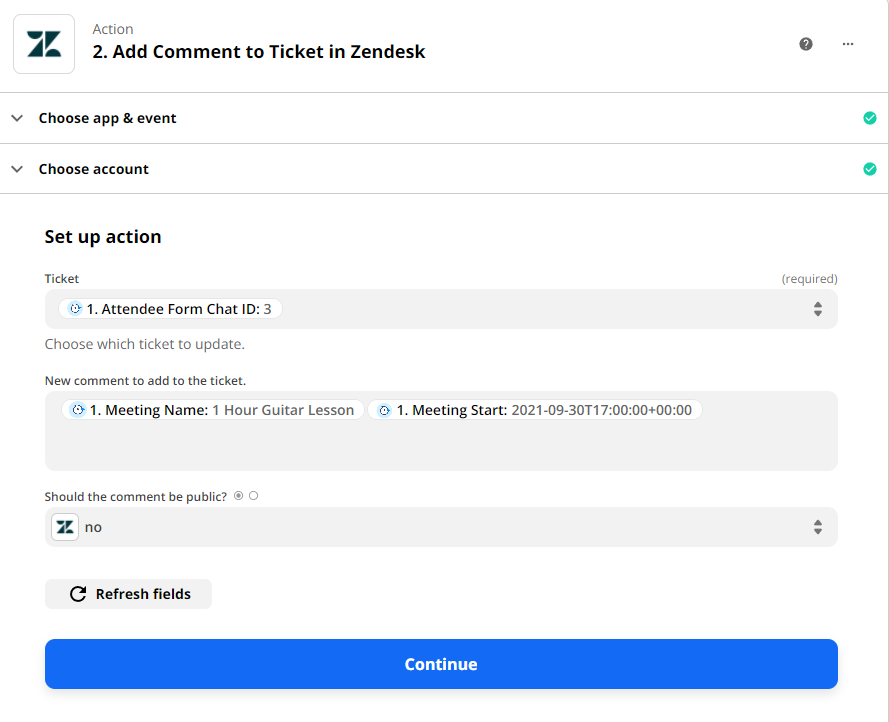
As you begin configuring the action step details, select ‘Chat ID’ in the Ticket dropdown menu and then customize your comment by selecting the relevant form fields we’re going to want to receive in our corresponding Zendesk ticket(s). Finally, select ‘No’ when asked whether the comment should be public:
Our last step here is to send data and test our Zap. A test comment will be created in the corresponding ticket to ensure this Zap is functional. Once success is confirmed, simply turn on your new Zap!
Putting your Zapier integration to the test
With everything set up, it’s time to see how this integration works in real time. Go ahead and open a ticket with a user. Then grab your scheduling link with the special field params at the end. Here’s a reminder on what that looks like:

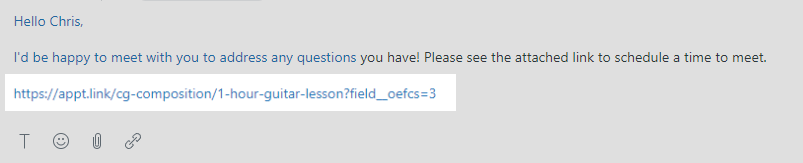
Once you have that link, just paste it into the ticket’s chat box and update VALUE based on the ticket number. You’ll recall that the ticket in this example is #3, so we’ve replaced “VALUE” at the end of our scheduling page URL with “3” here as well.
When the end user schedules a meeting with this link, Zapier will detect the booking confirmation and use their chat-id to post a private comment with the form responses in that same Support ticket. This can be useful for yourself as well as others on your team if they become involved in the conversation.
Organize your Zendesk Support tickets with tags
Now that you’ve got the integration set up, my last suggestion is to explore Support’s tagging system. When you receive a meaningful form response, you can tag the tickets with keywords and filter through them. This makes it easy to round up end users who fall into similar categories, so you can follow up with groups as needed.
This can be helpful for sales teams that want to organize prospects and leads according to their qualification levels. Customer success can tag tickets for users who needed a solution that wasn’t available. Later, when the feature rolls out, filtering through tags is a convenient way to find and notify interested parties.
Want to learn more about some Appointlet CRM alternatives? We outlined integrations with Hubspot and Zenkit that follow different protocols.
Author Bio: This is a guest blog article. Casey Burge is a web developer and intern at Appointlet. You can read more of his work here.